Chromebooks are simple and affordable laptops that work well for most tasks. Chromebooks range from budget devices to premium devices with a plethora of features. One benefit of Chromebooks is that they’re relatively simple and they work. That doesn’t mean they’re free of problems. One issue you may run into is that your device stops charging. Here are steps to solve the problem.
Make sure the charging cable works properly
It may sound obvious, but check that the charging cable is plugged in properly. Make sure the cable is plugged into the wall, that both pieces of your charging cable are plugged into each other, and that the outlet you’re plugged into works. If any of these are off, it may stop your Chromebook from charging. If everything is plugged in and working correctly, unplug it, wait 30 seconds, and plug it back in.
Also, use the charger that came with your Chromebook. Even though third-party device makers have devices with better specs than the charger that comes with your device, it may not work correctly. If you’re using the original charger and have another one around, swap them out.
Lastly, leave your Chromebook plugged in for half an hour. Sometimes, a device may have such a low charge that it takes some time for it to have enough power to turn on again.
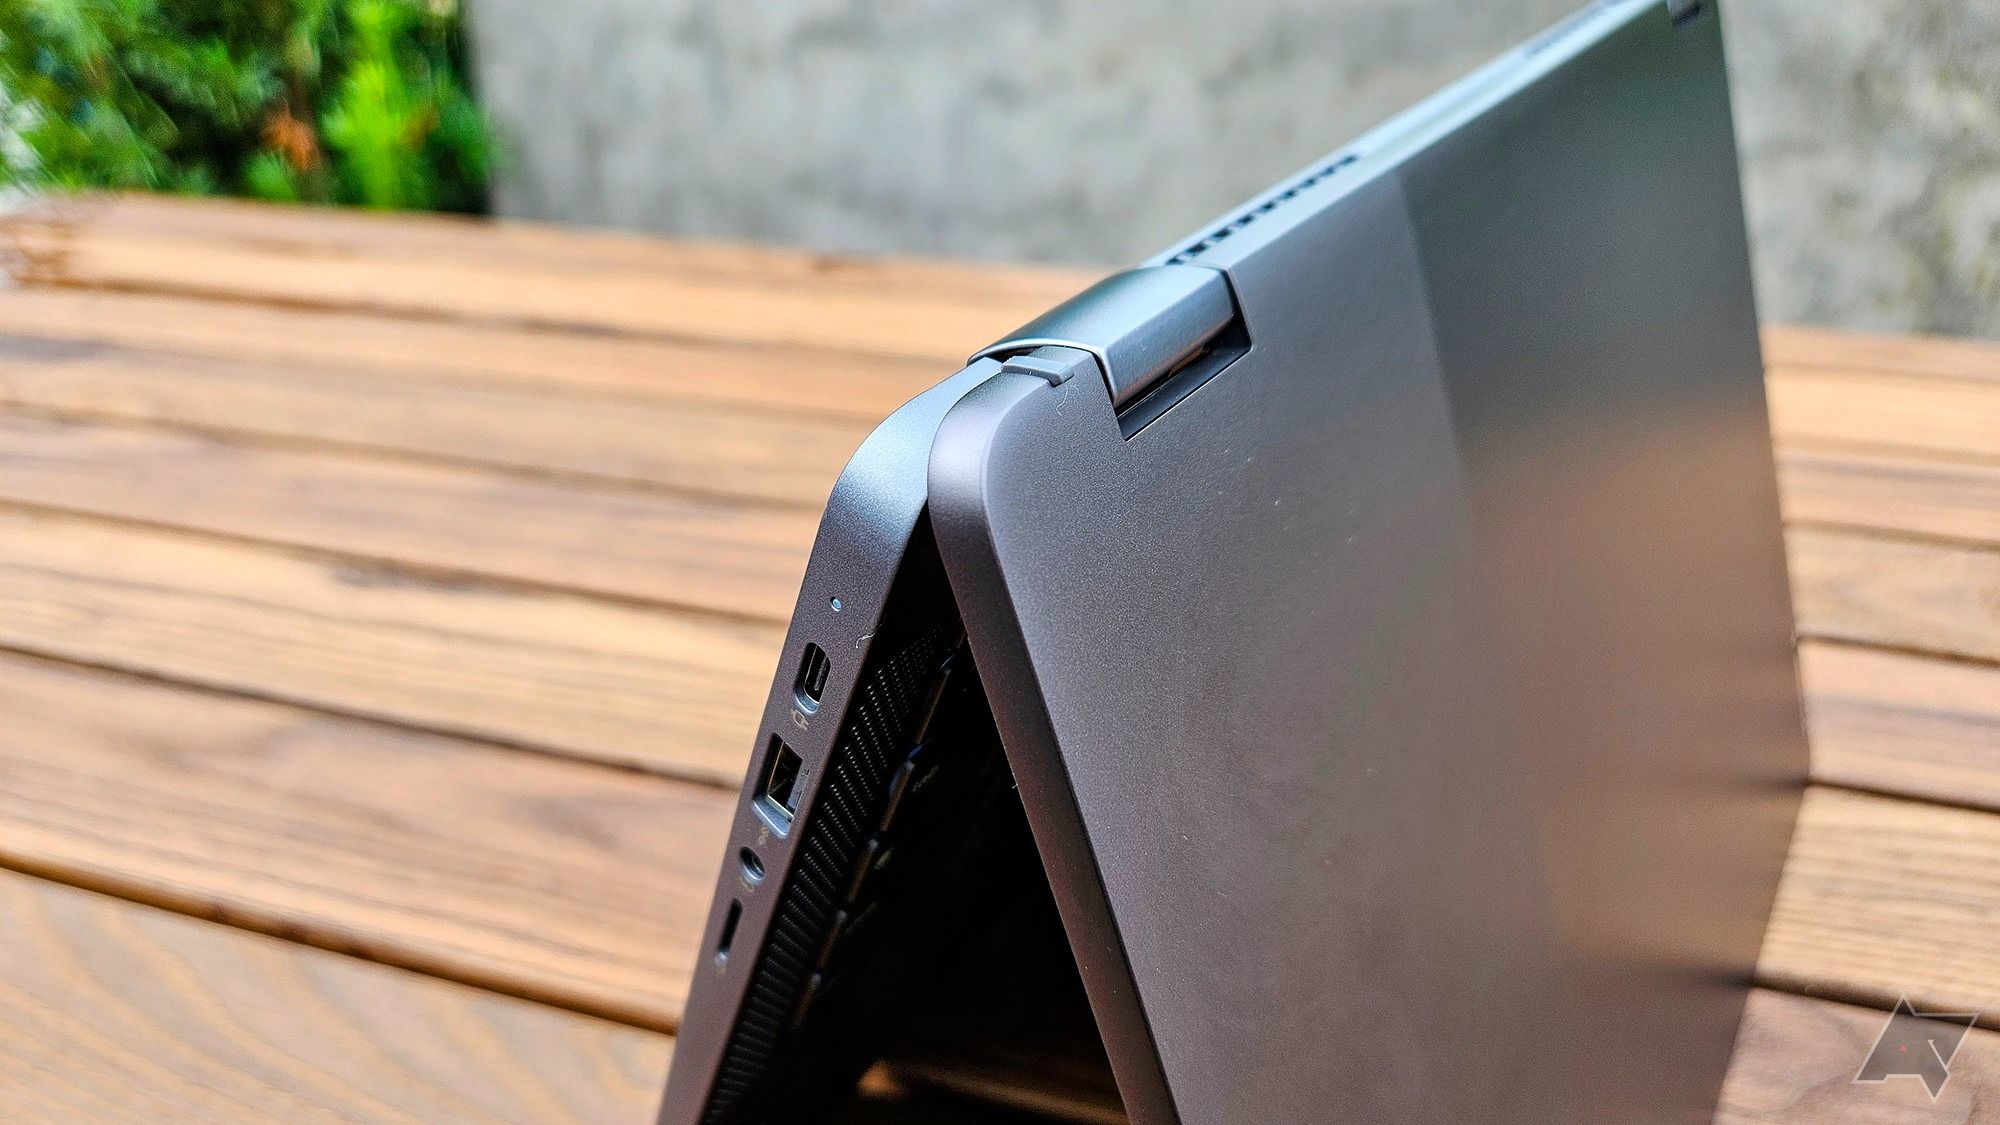
Check the charging indicator light
Most laptops come with a light to indicate the charging status of the device. Chromebooks are no different. This indicator light is often located next to the charging port but can be located in other spots on the device.
When you plug in your Chromebook, the indicator lights up orange until the device is charged and then turns white or green. If a Chromebook has a battery issue, a red light may appear. If you plug in your charger and don’t see a light, wait 30 minutes to make sure your device has enough juice.

Restart your Chromebook
Sometimes, computers have glitches. Your Chromebook not charging could be a glitch, which could be solved with a simple restart. To restart your device:
- Tap the time in the lower-right corner.
- Tap the power icon in the quick settings menu.
- Select Shut down from the list of options.
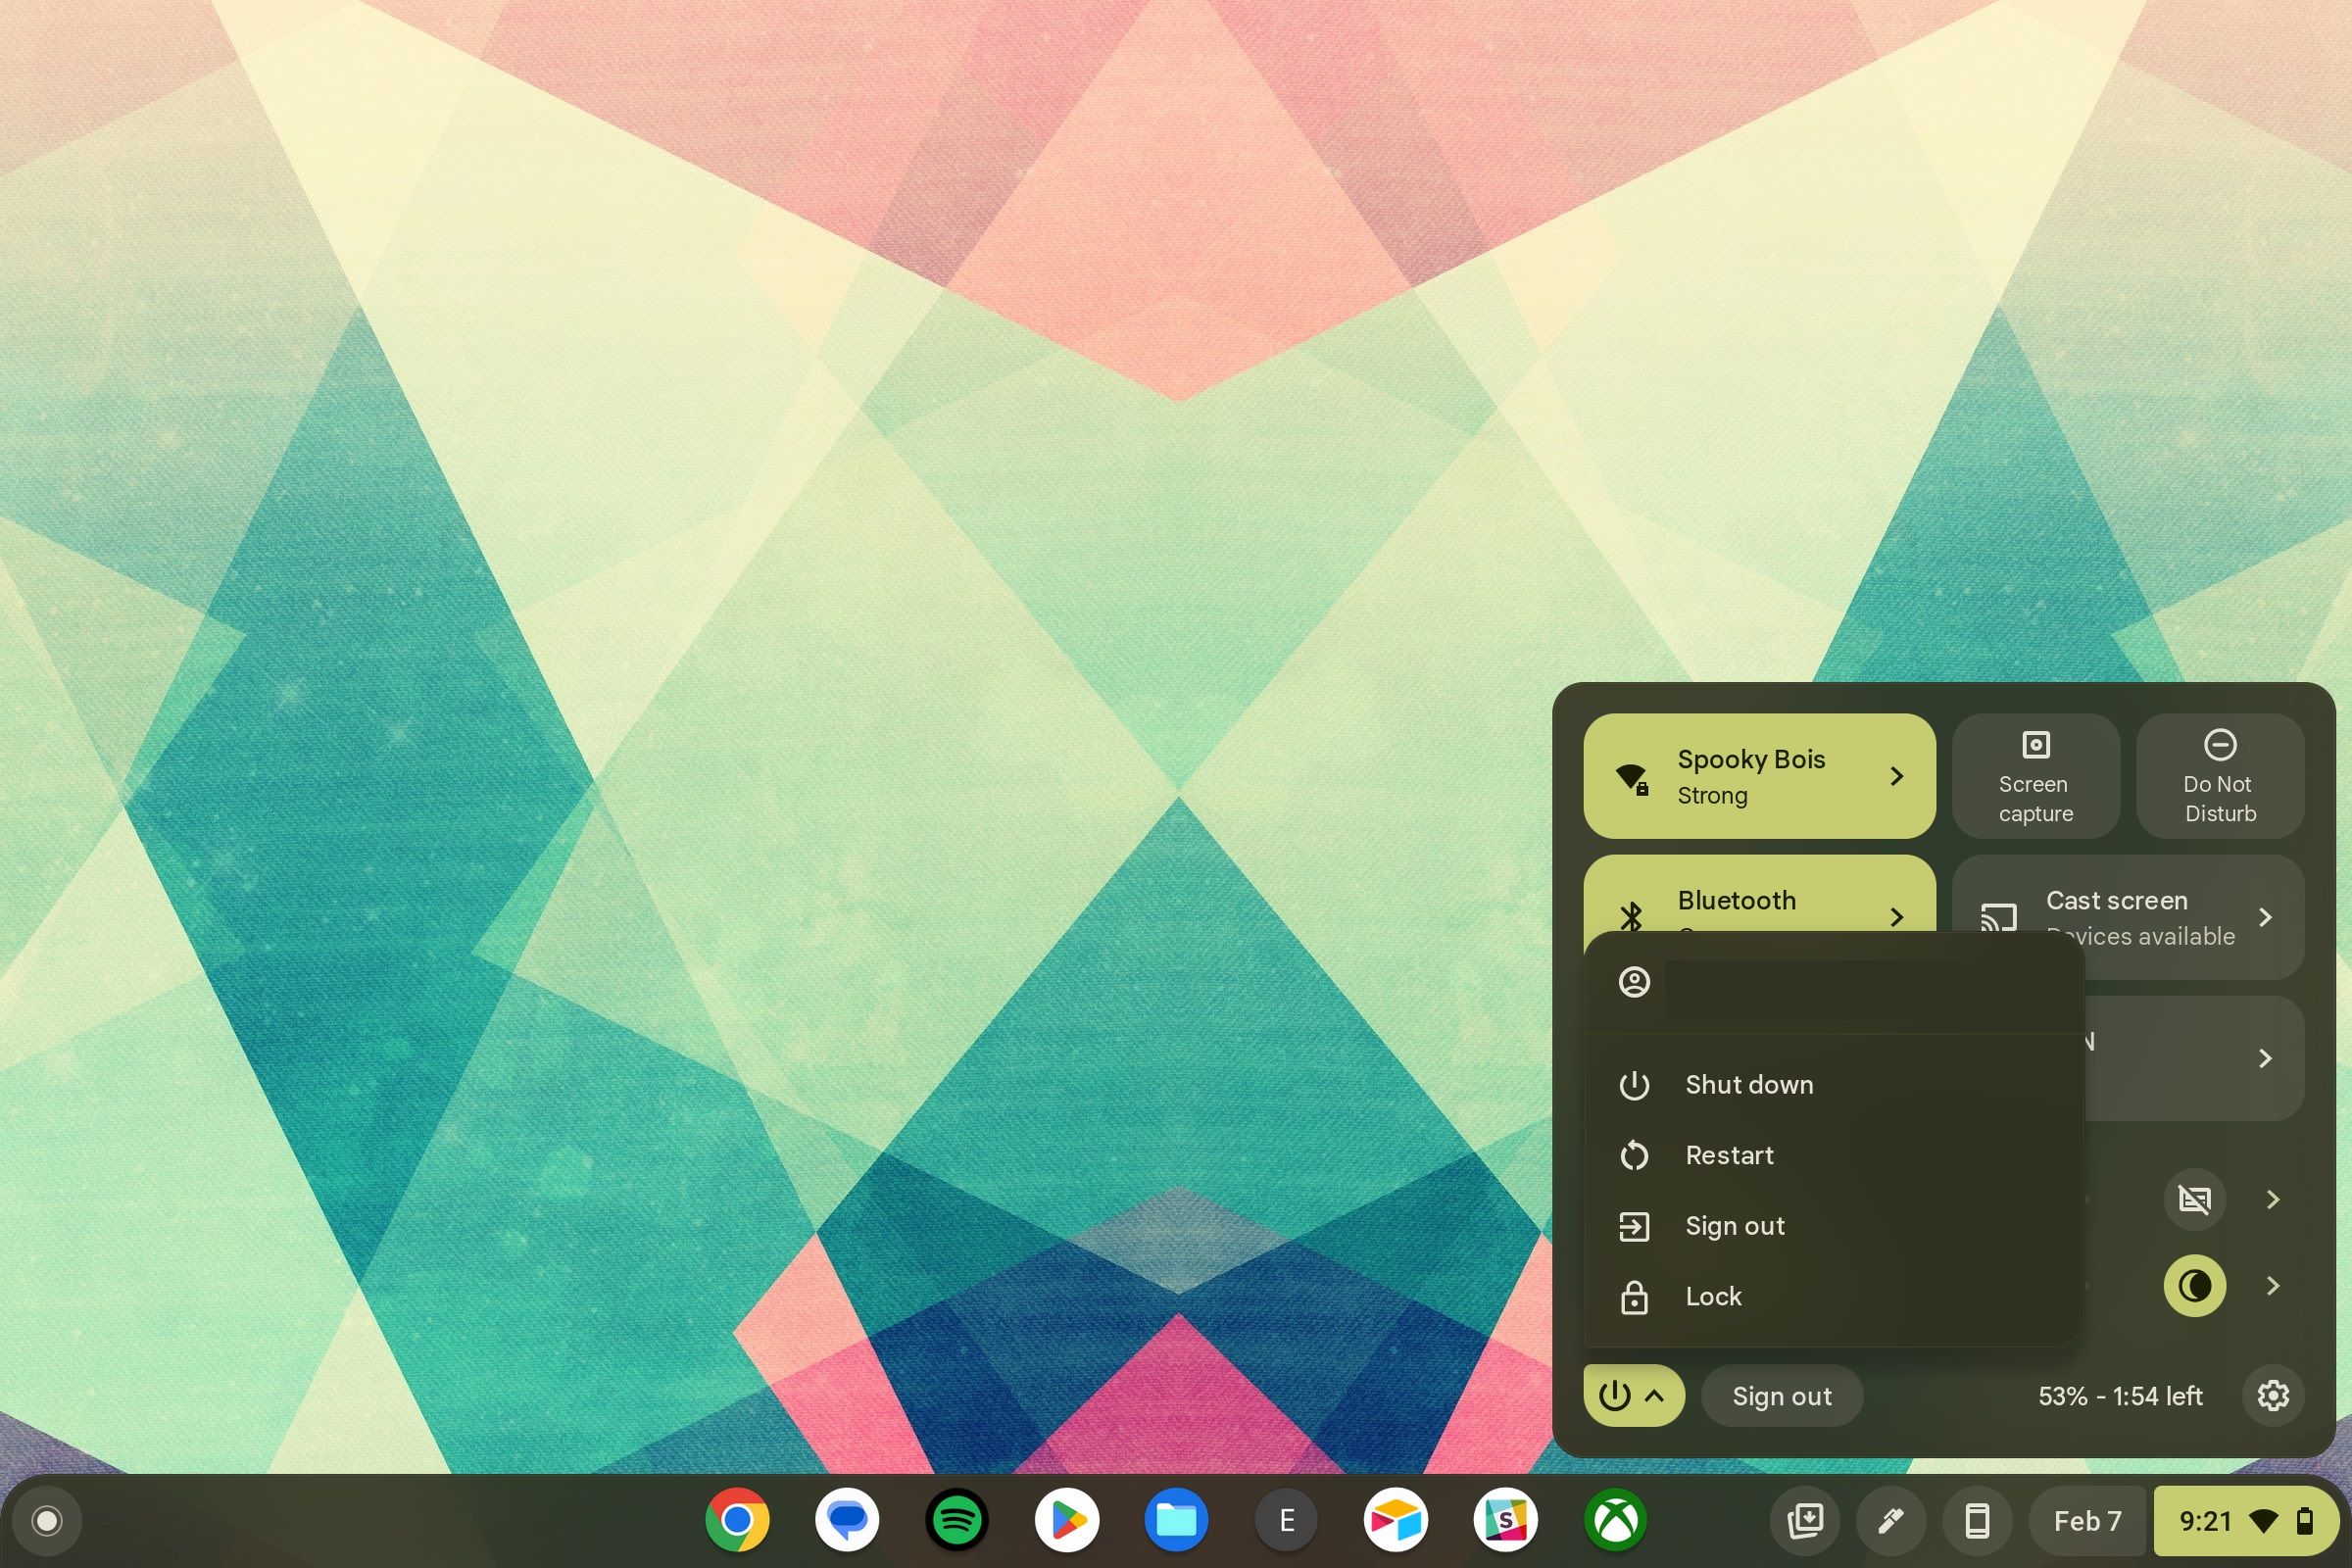
- After your device shuts down, unplug it.
- Wait at least five minutes and turn your Chromebook back on.
- After your device turns on, plug the charger back in.

At this point, the indicator light turns on or a lightning bolt symbol appears on the battery icon on your screen if your device is charging.
Do a hard reset
If nothing worked, it may be time to reset your Chromebook hardware. Chromebooks allow users to do a hardware reset, which resets all hardware and may delete files in your Downloads folder. Back up your device before you do a hard reset to avoid losing data or files.
- Shut down your Chromebook.
- Hold the refresh button and tap the power button.
- After the Chromebook restarts, release the refresh button. If you have a Chromebook tablet, press and hold the power and volume up buttons for about 10 seconds and release them.

Use the Diagnostics app to check your battery
Chromebooks have a handy Diagnostics app built into the operating system. This app checks the health of the components in your Chromebook, including the battery. Checking the battery this way can determine if the battery is the issue.
- Tap the search/launcher button and search for Diagnostics.
- Tap the result that says Diagnostics with an icon of a zigzag line.
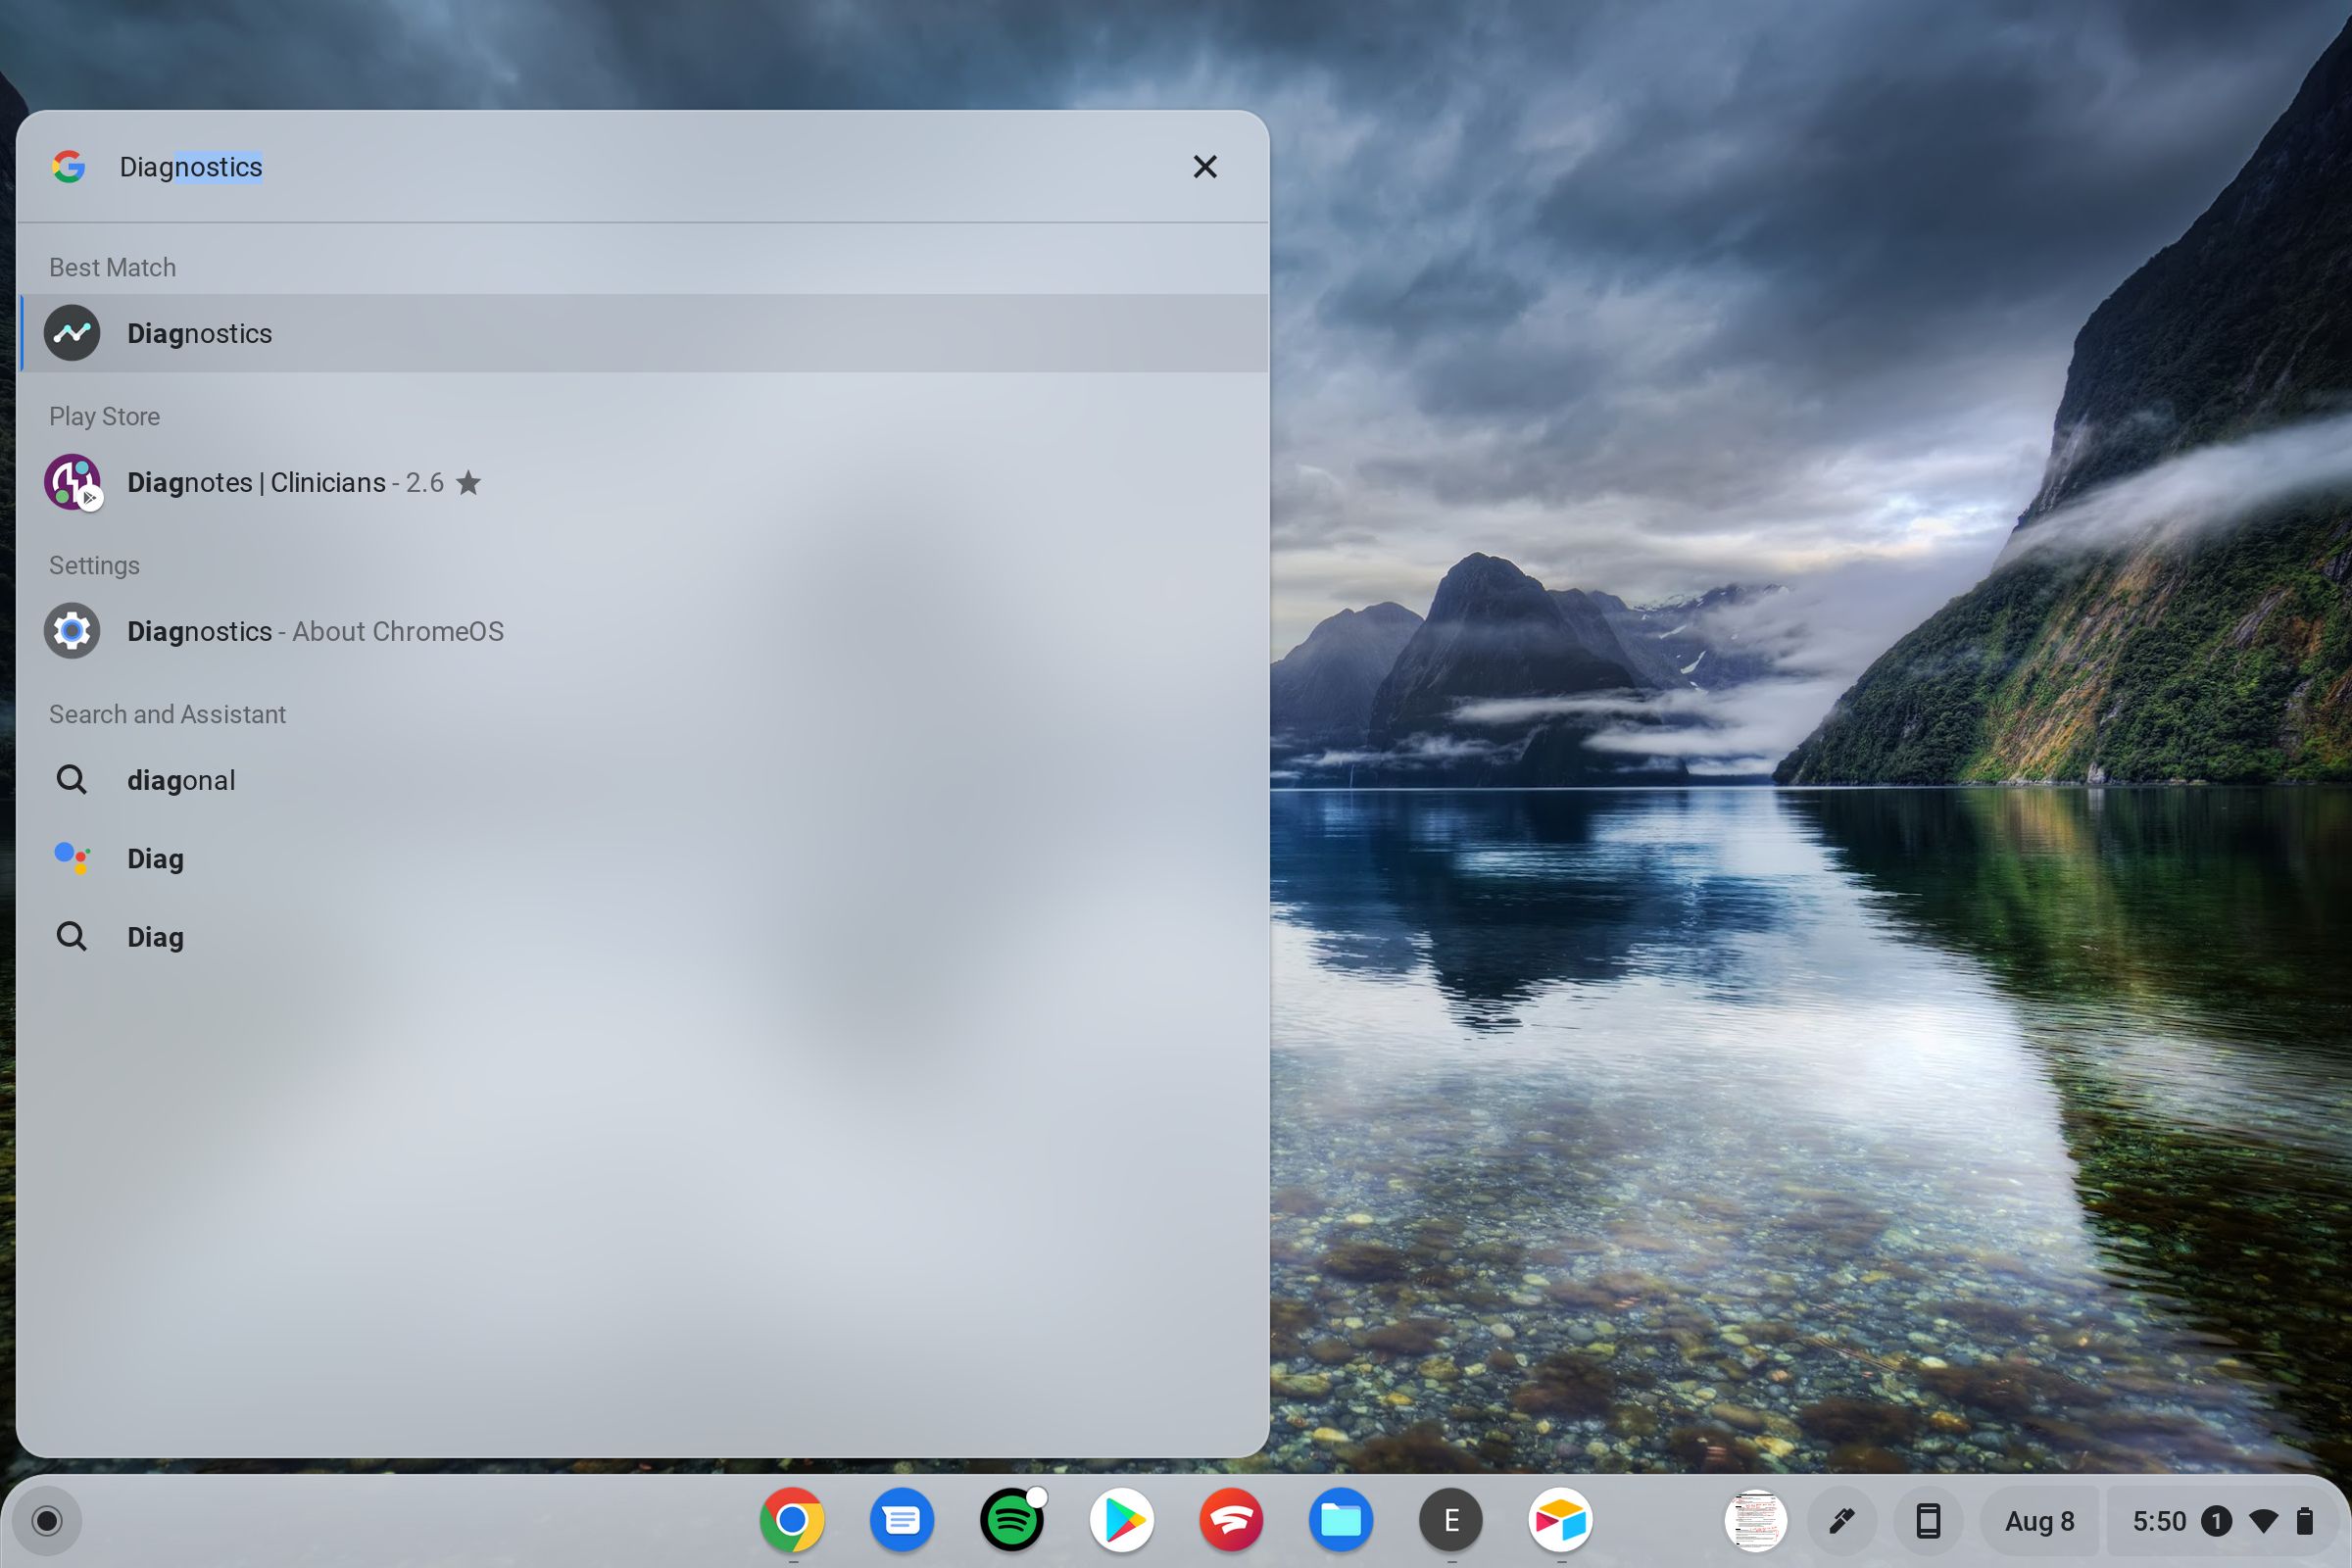
- In the Diagnostics app, under the Battery section, tap the Run Discharge test button.
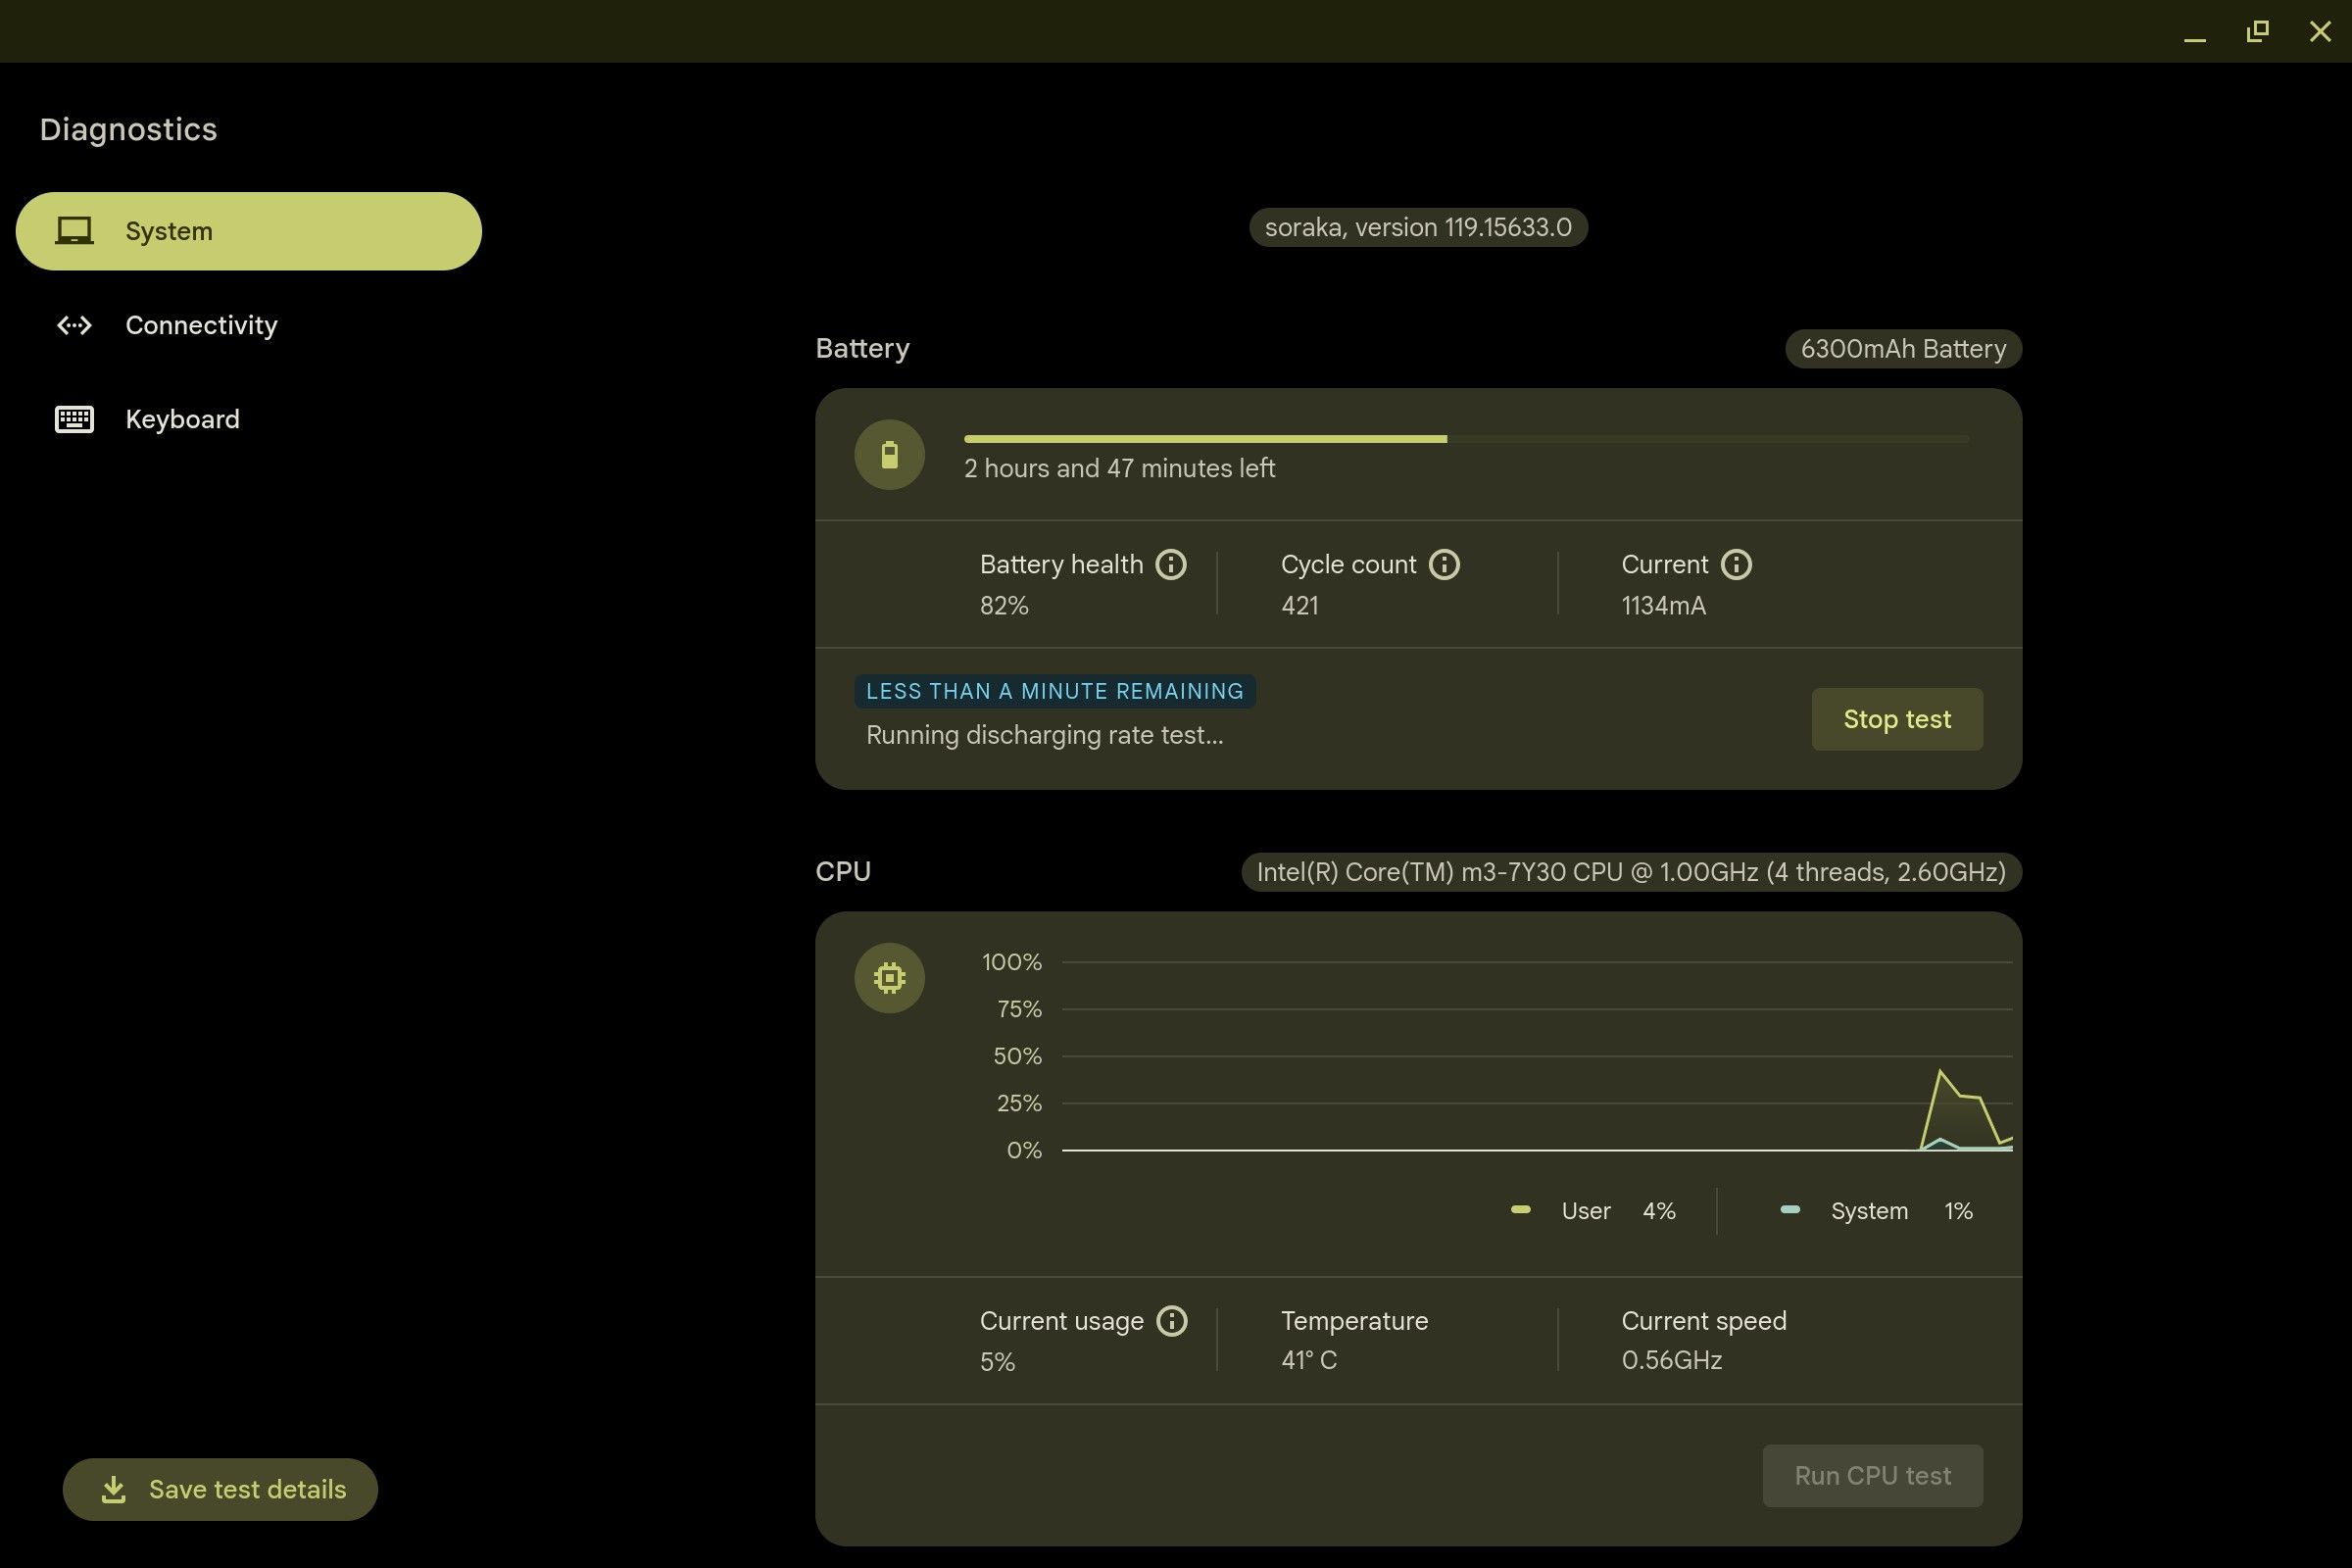
- Wait for the test to finish.
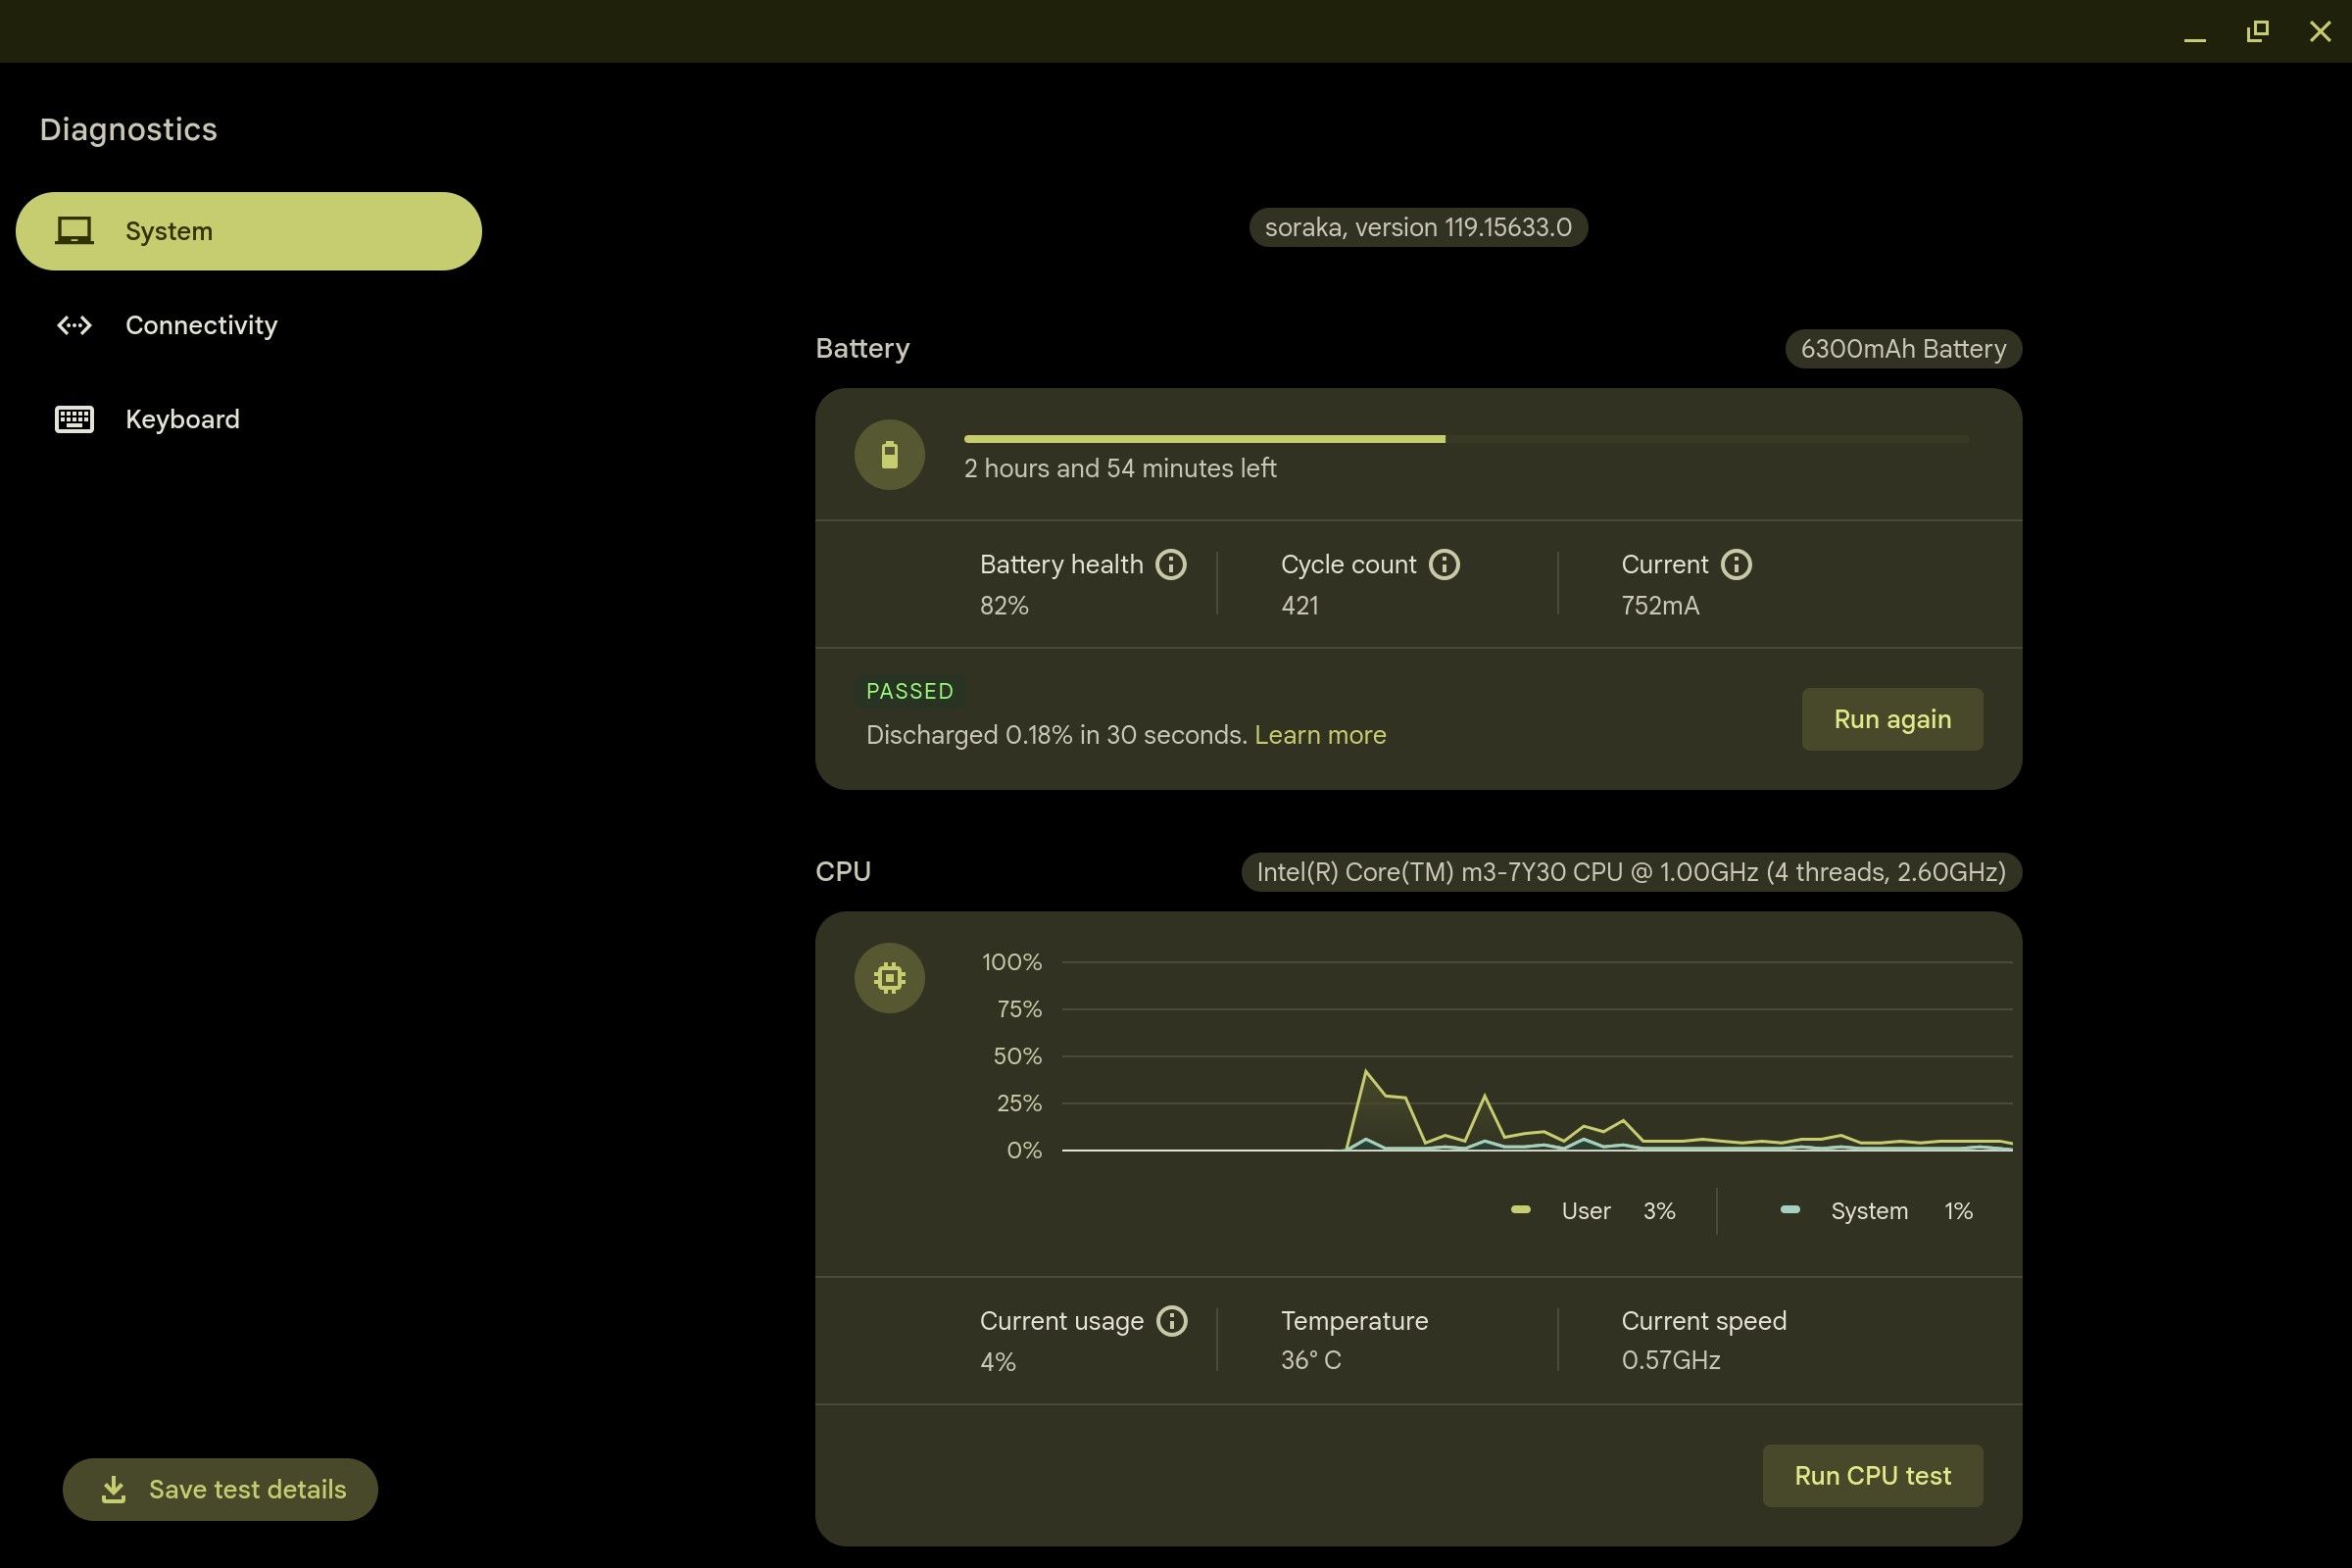


If the test’s result is a fail, this could signify an issue with your battery.
Factory reset your Chromebook
If all else fails, it’s time to reset your Chromebook. Resetting a Chromebook is also known as Powerwashing it. This process deletes all data and files on your device. It’s a good idea to back up your device before resetting it so that you don’t lose important data.
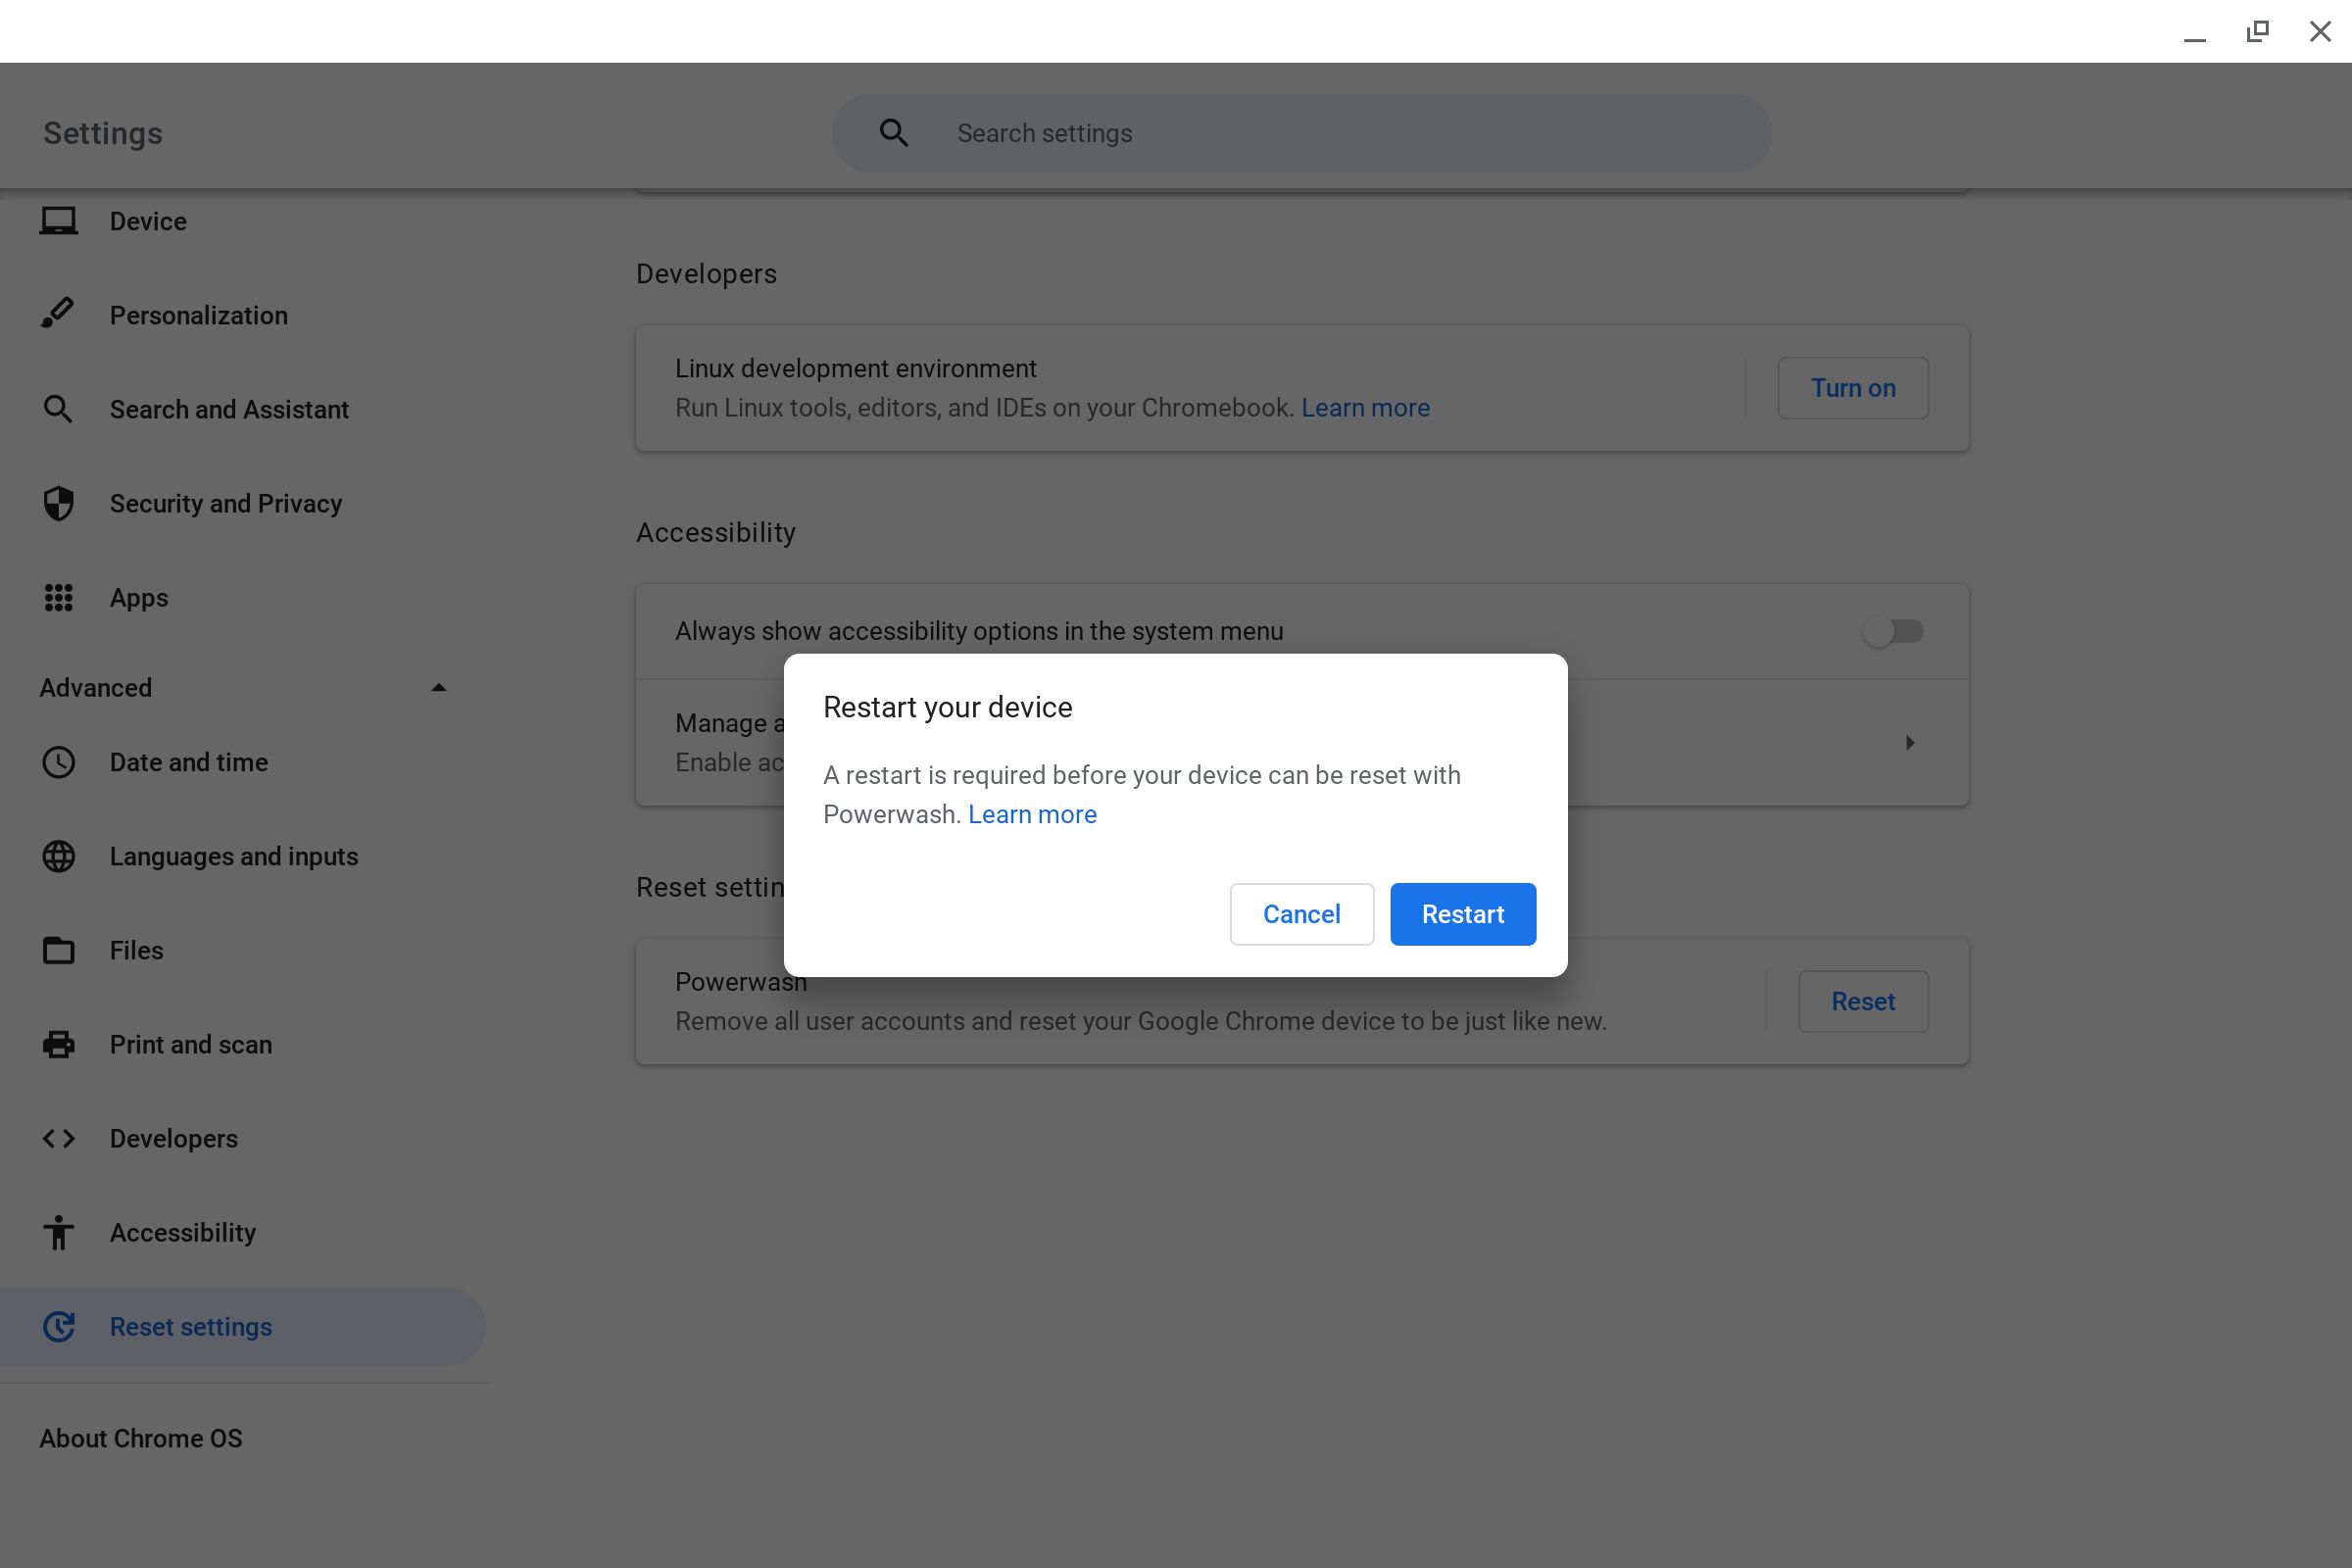
- Open the Settings app.
- Tap Advanced on the left, then tap Reset settings.
- Click the Reset button in the Powerwash section.
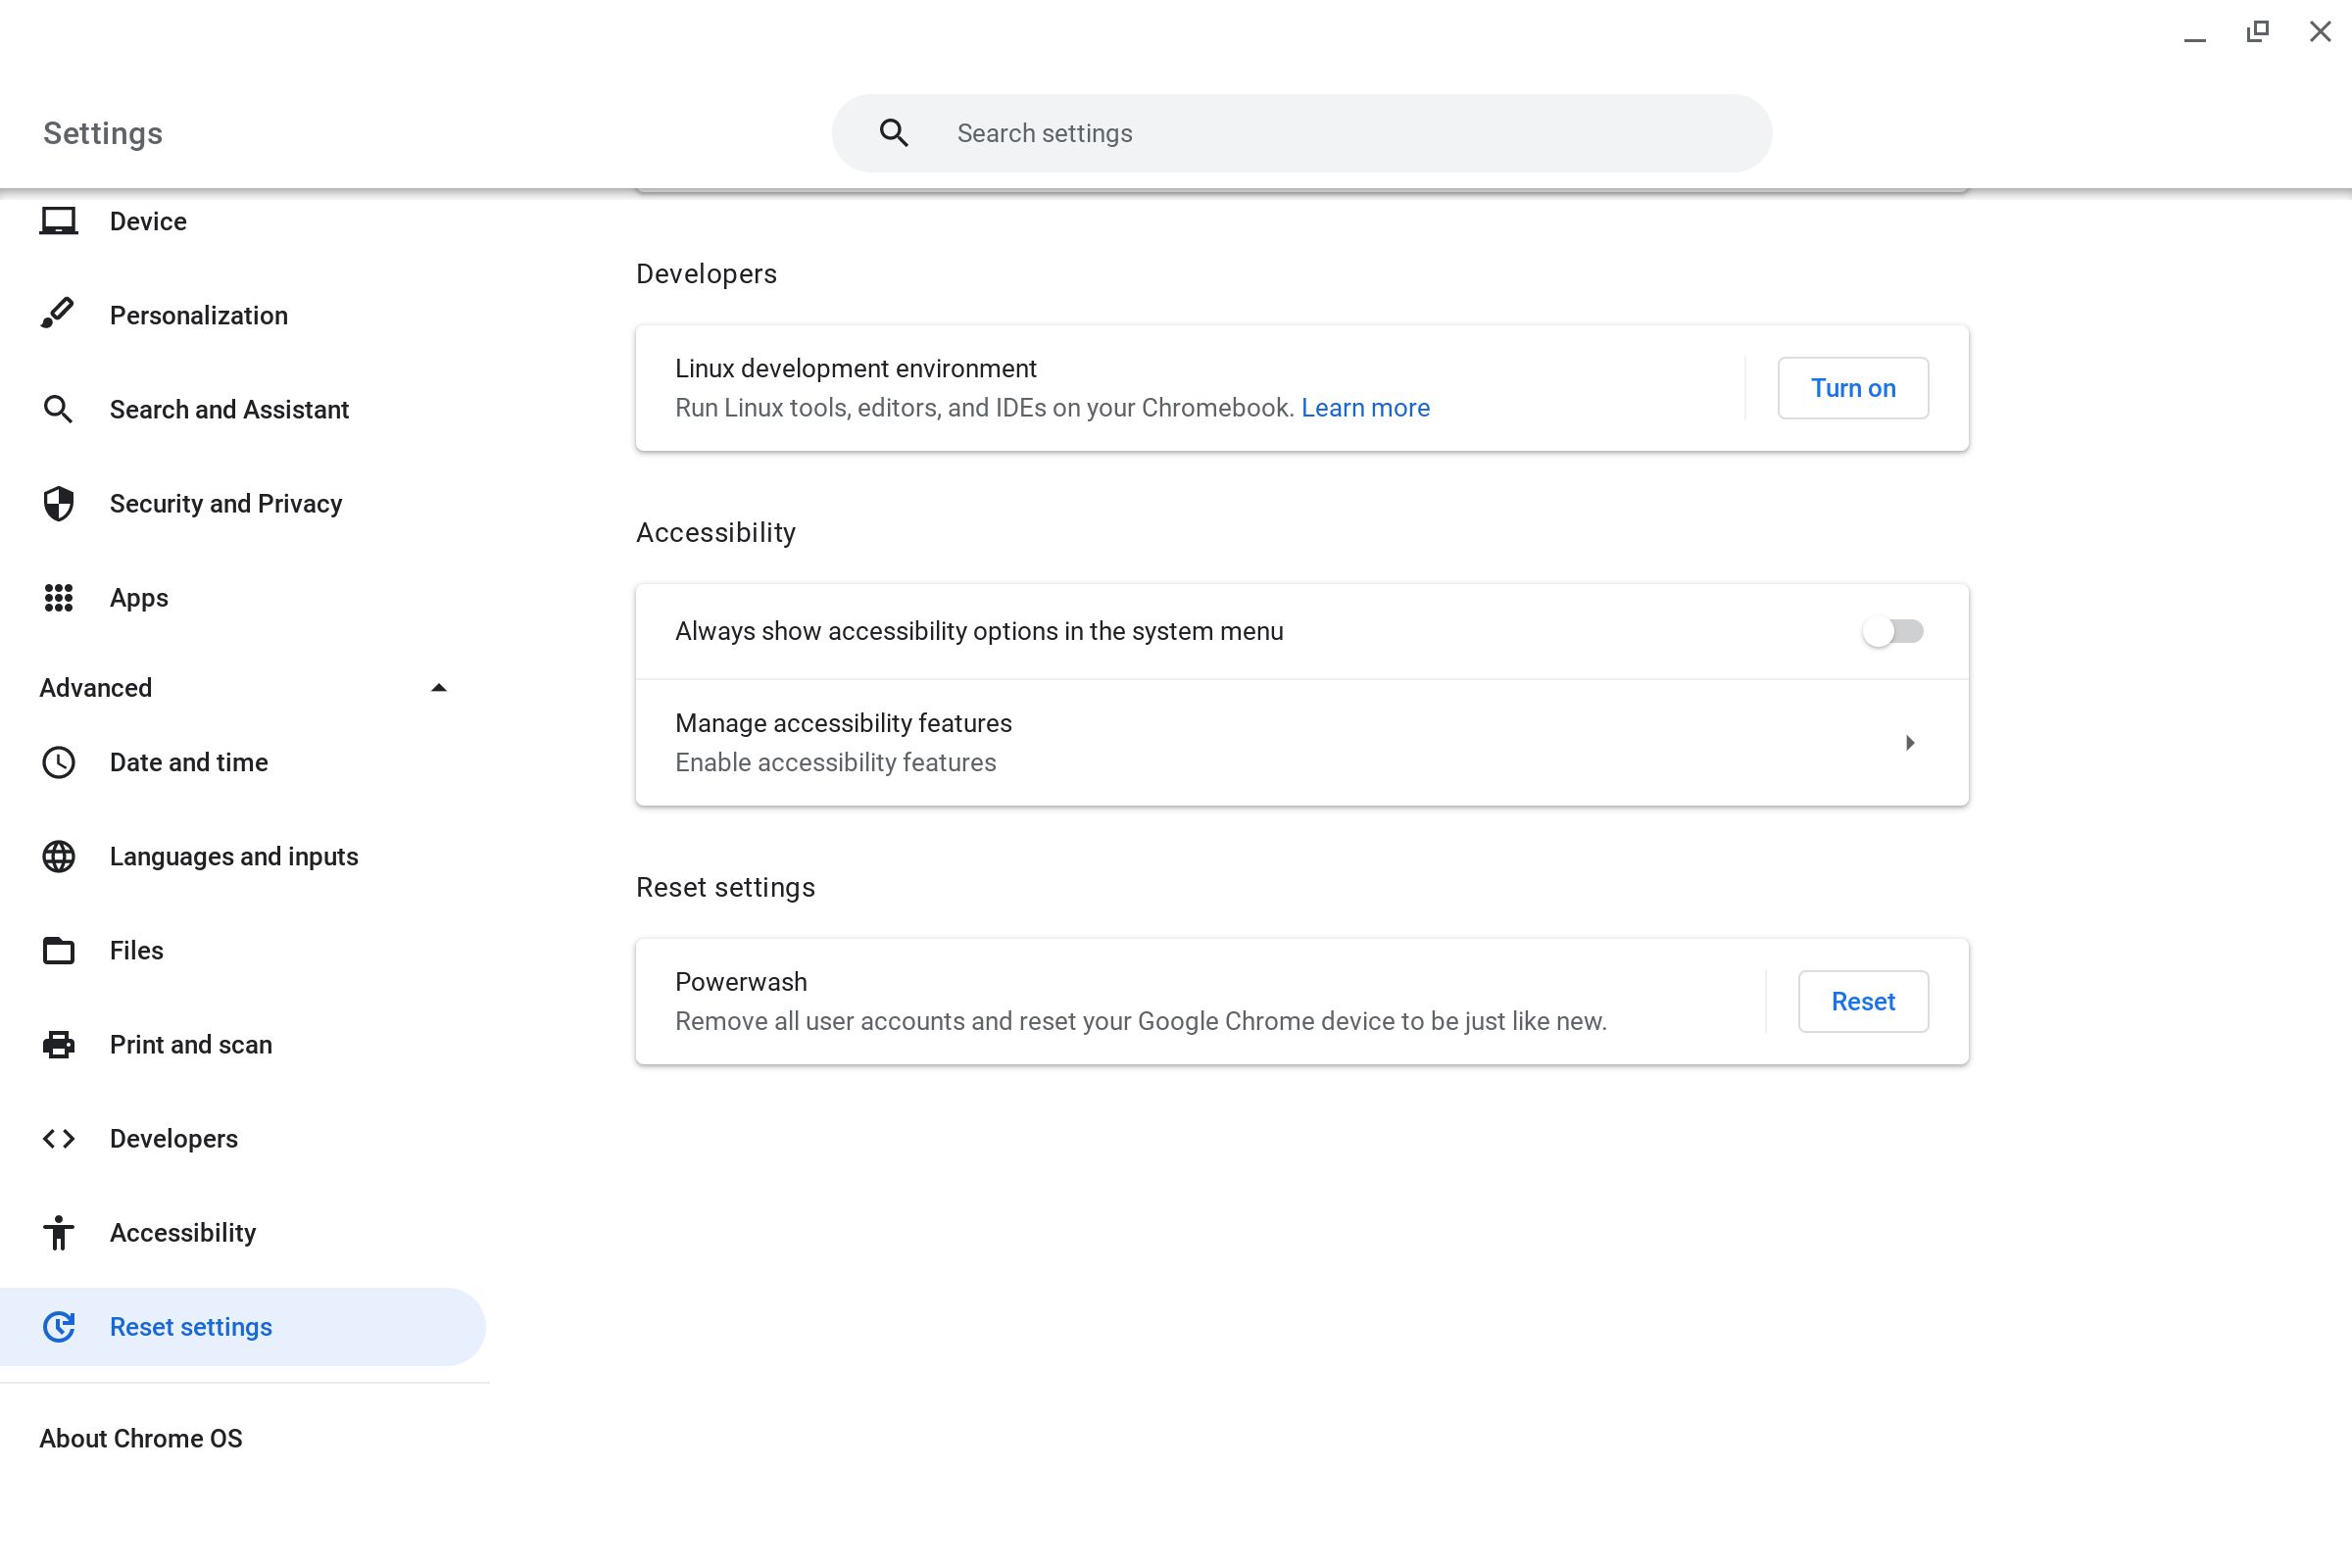
- Select the Reset button in the dialog box that appears.


After your device restarts and finishes erasing the data, set it up again and plug in the charger.
Get recharged
While Chromebooks don’t often have issues, you may run into an issue with charging. If the tips above don’t solve your issue, it may be time to contact your Chromebook’s manufacturer. If you run into other issues, we have fixes for the common Chromebook errors to get your Chromebook back in good working order.